A Complete Guide for Cricut Explore Air 2 Bluetooth Setup
With the Cricut Explore Air 2 Bluetooth setup completion, the DIYer can make all their crafting dreams come true. Designed with simplicity, this cutting machine can cut anything covering from delicate to thickest material for various personal or professional uses. Explore Air 2 makes it easy for the crafters to go from idea to ‘I Did It.’ Apart from that, this model works properly with the Design Space app, which shares designs with the machine for cutting & printing purposes.
Also, it comes with
an in-built Bluetooth wireless technology, making it easier for the DIYer to
transfer designs without any technical errors. Inside this blog, you will learn
about setting up Explore Air 2 wirelessly with Desktop/ mobile devices.
How to Setup
Cricut Explore Air 2 on Windows via Bluetooth?
Explore Air 2 can
wirelessly cut down the loaded materials into various shapes & sizes via
its Bluetooth feature. Follow the steps written below to learn about the
process:
- First, you need to ensure that the cutting machine is on and
within 10-15 ft range of your
PC.
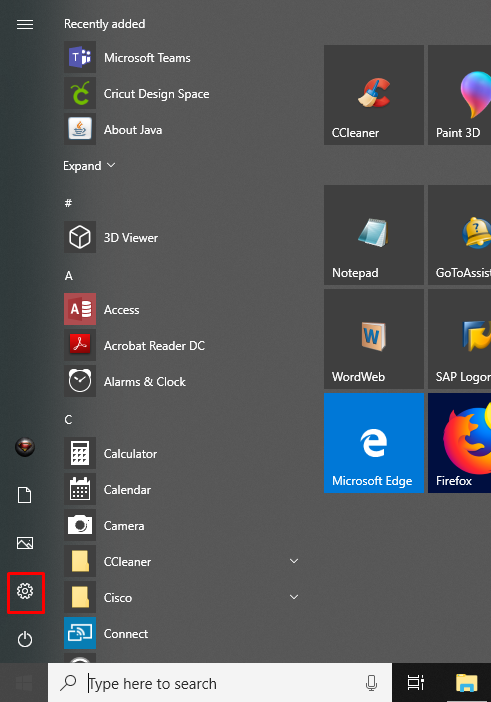
- Now, tick the Start
menu and press the Settings
symbol.

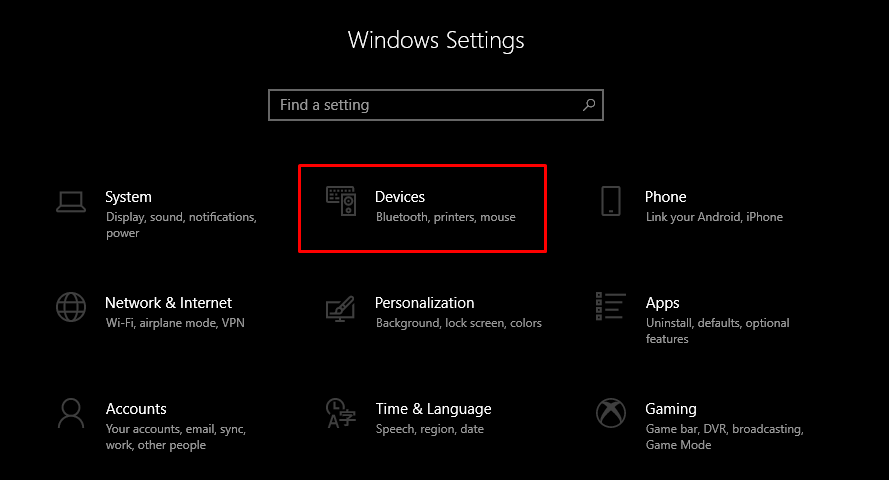
- Next, click the Devices and
check that your system Bluetooth is
on.

- In case Bluetooth isn’t on, then move the dongle to the right
side.
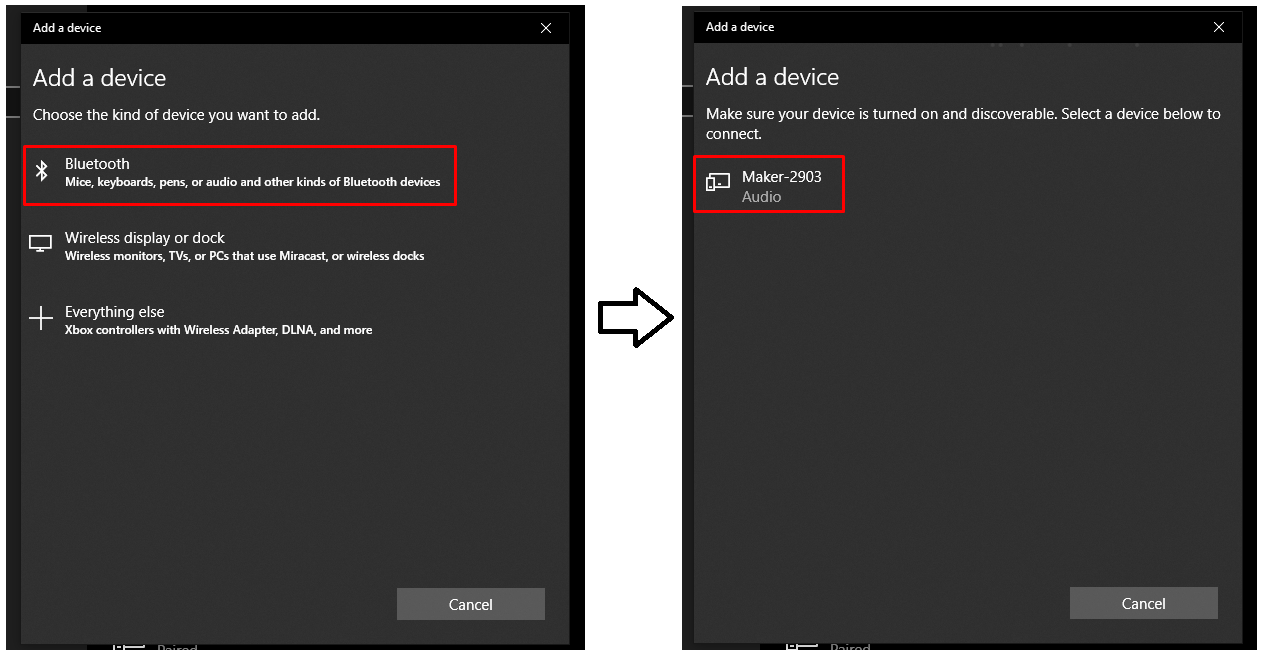
- After enabling Bluetooth, tap the Add Bluetooth or other device.

- At the new pop-up window, choose Bluetooth and let your computer scan your Cricut machine.

- After finding your machine model, click on it and
enter the PIN number (0000).
- Now, you need to press the Connect
option appearing on the left side of the screen.

- Lastly, your Cricut machine pairing process with Windows OS will come to an end
successfully.
Below, you will come
across the Cricut Explore Air 2
Bluetooth setup process with Mac OS.
How to Setup
Cricut Explore Air 2 on Mac via Bluetooth?
Follow these steps to
learn about setting up Explore Air 2 with Mac wirelessly for crafting projects.
- Commence the process by ensuring that your cutting machine is
on and within the 10-15 ft
range of Mac.
- Now, press the Apple icon
and choose the System Preferences
option.
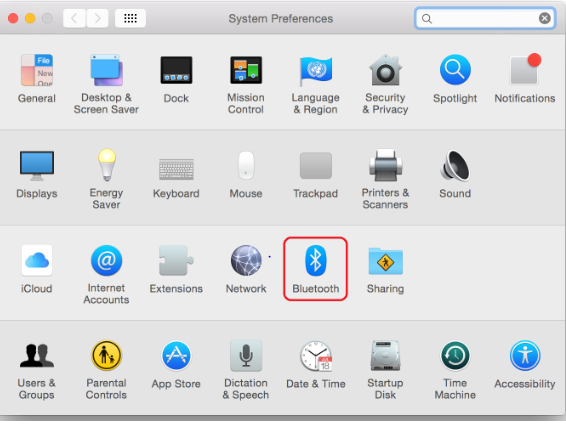
- After opening the System
Preferences window, click the Bluetooth
icon.

- Next, open the Bluetooth
window and enable the device Bluetooth if it isn’t on.
- From the list, choose your Cricut machine model from the list
visible on your screen.
- Following this, tick the Pair
button and submit the PIN code
inside the field.
- Now, again tap the Pair,
and your device pairing process will come to an end.
Apart from PCs, the
DIYer can also setup their Explore Air 2 model with iOS devices. For that, they
have to read the section given below.
How to Setup
Cricut Explore Air 2 on iOS via Bluetooth?
Cricut Explore Air 2 Bluetooth setup process with iOS devices can take place by
following these steps:
- Initiate the process by checking that your iOS device is on and
within 10-15 feet of your PC.
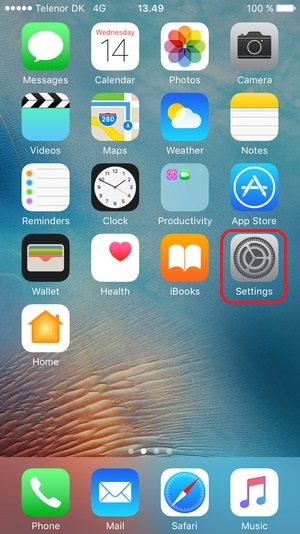
- Now, open your smartphone and go to the Settings app.

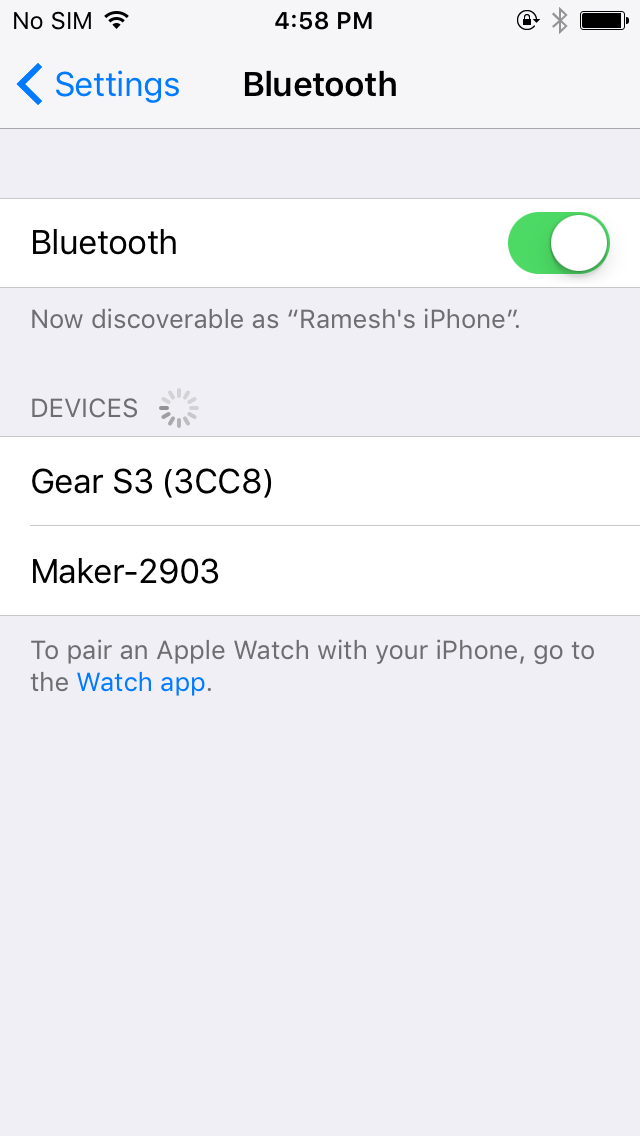
- At the Settings, enable Bluetooth
by tapping on it.

- Afterward, wait till your phone’s Bluetooth is searching your cutting machine.
- Next, you’ve to click on your machine name given under the Devices section.
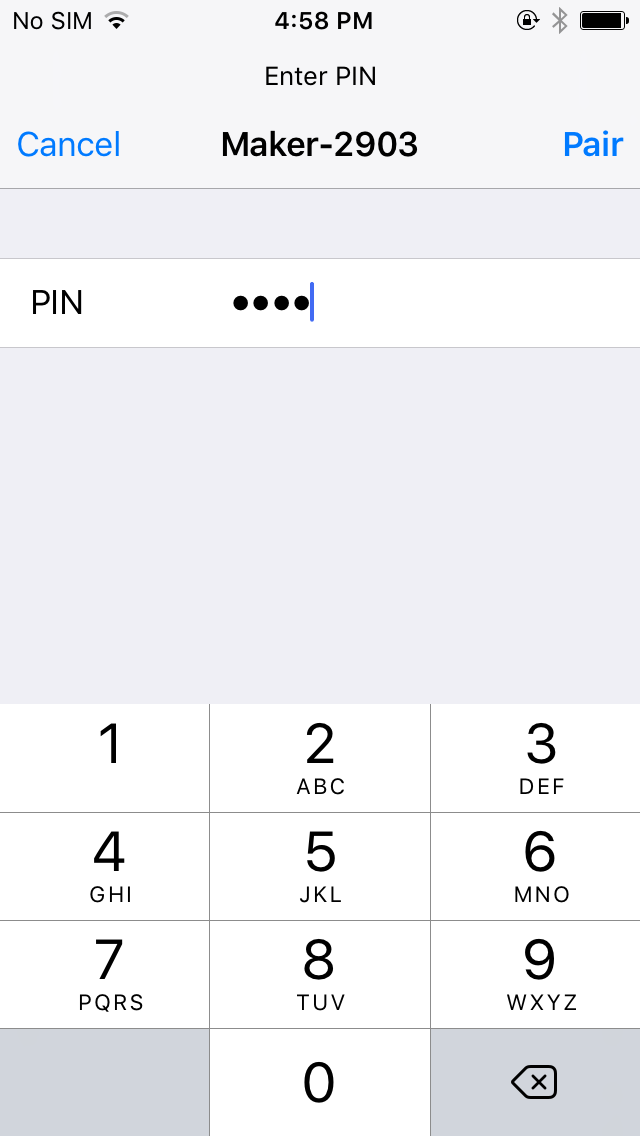
- Enter the PIN Number and tick the Pair option available under the top right side of the screen.

- After a few minutes, the wireless connection between both
devices will come to an end.
Summing up the post,
you all must have understood various Cricut
Explore Air 2 Bluetooth setup methods.
Frequently
Asked Questions
Question: How Can I Setup Explore Air 2 With Bluetooth on My Android
Device?
Answer: Follow
the given below steps to learn about the wireless setup process:
- Check that your cutting machine is on and within the
10-15 ft mobile phone range.
- Go to Settings
and enable your device Bluetooth.
- Wait till your device is scanning your Explore Air 2
& then enter the PIN number.
- After entering the PIN, tick the OK
button, and both your devices will be paired with each other.
Question: Why is My Cricut Explore Air 2 Not Connecting to My PC
Bluetooth?
Answer:
There are several reasons why your cutting machine might be facing errors
during the wireless connection process. Have a look at the reasons below:
● Check that both of your devices are connected
to a stable Wi-Fi network.
● Sometimes, Cricut Design Space might be facing
servers or experiencing issues.
● Clear your browser cache and cookies if you
are experiencing issues.
Question: How Do I Setup Explore Air 2 With My iOS Device via
Bluetooth?
Answer:
Read the steps to learn about the Cricut Explore Air 2 Bluetooth setup process
with iOS devices. Place your iOS devices within 10-15 ft of your PC &
switch on your smartphone.
- Go to the
Settings tab and enable your
device Bluetooth.
- After the
Bluetooth is enabled, it will
instantly start scanning your cutting machine.
- After
finding the machine, select it & enter the PIN (0000).
- Your
cutting machine & devices will get connected.


Comments
Post a Comment